A good photo pattern begins with a clear subject and a manageable grid. This guide walks through the Craft Pattern Kit cross stitch studio, from your first upload to a printable chart.
1. Prepare your image
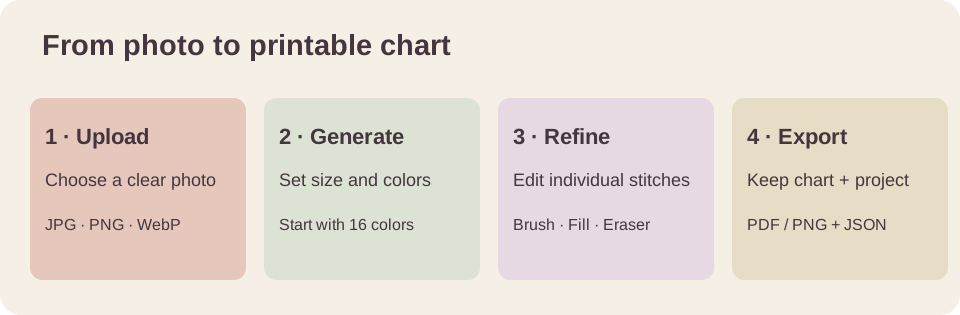
Choose a well-lit photo with a subject that stands out from its background. Crop the image in your photo editor before uploading. The studio accepts JPG, PNG and WebP files up to 15 MB. Transparent PNG areas with low opacity become unstitched fabric; an ordinary white background becomes stitches unless you erase it later.
2. Choose a stitch size
Start around 64 to 100 stitches wide for a simple motif. Keep image proportions enabled to avoid stretching. A larger grid preserves more detail but creates more stitches. The current studio supports 8 to 200 stitches on each side.
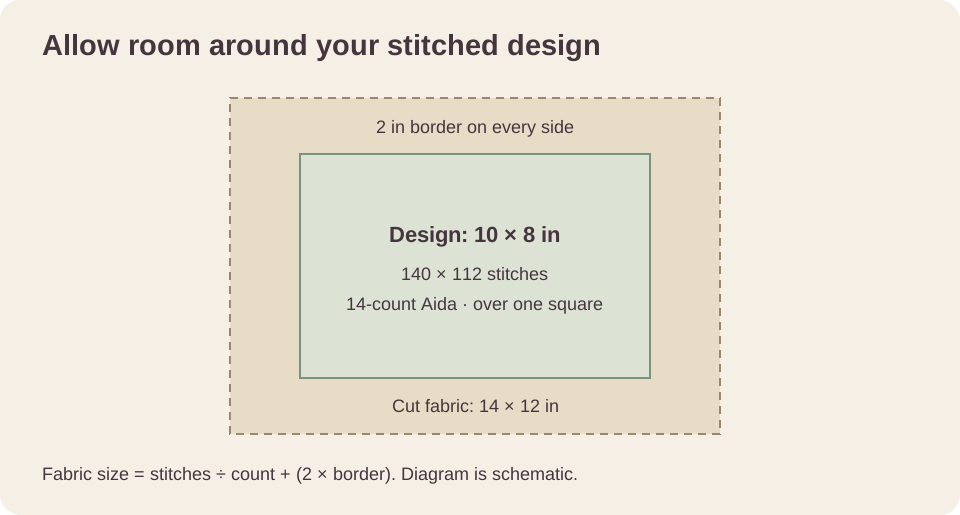
Grid dimensions are different from finished fabric dimensions. A 140-stitch-wide design on 14-count Aida is 10 inches wide. Changing the fabric count changes the finished size without changing the chart.
3. Simplify your colors
Try a maximum of 16 colors, then generate the pattern. Increase the limit if important details disappear, or reduce it if there are too many isolated colors. Adjust brightness or contrast before generating again. The tool uses a 377-color DMC reference subset; screen colors are approximate, so check real floss when selecting supplies.
4. Refine the chart
- Select a palette color and use Brush to paint individual squares.
- Use Eraser for areas you want to leave as fabric.
- Fill changes one connected area of the same color.
- Picker selects the color of an existing stitch.
- Replace all matching stitches changes one color across the entire chart.
- Use Hand and Zoom to inspect small details. Undo restores earlier edits.
Generating again replaces the current chart, but Undo can restore it. Save a project file before experimenting with major changes.
5. Export and keep an editable copy
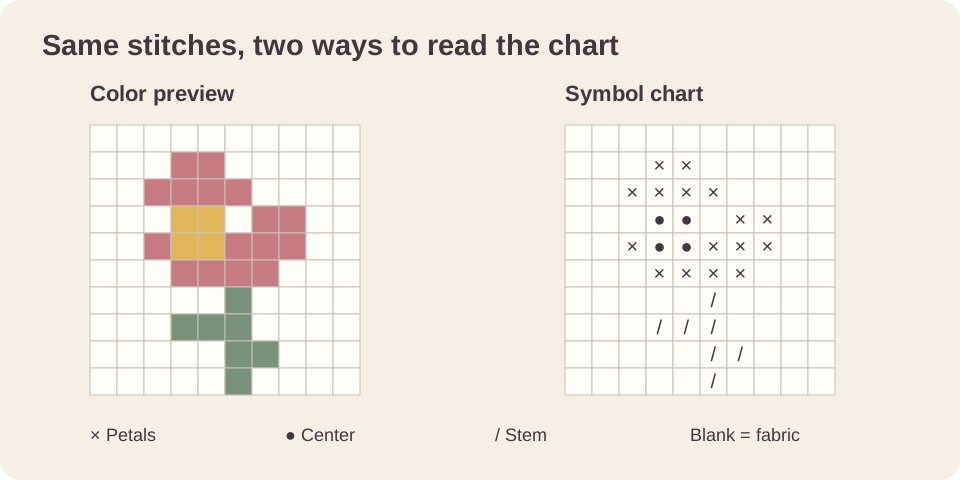
Download PNG for a chart image, or PDF for an overview, a DMC thread key and numbered chart pages. The thread key lists stitch counts, not skein quantities. Match the printed row and column ranges to join chart pages.
Use Save project to download an editable JSON file. Open project restores that file later. PDF and PNG exports do not retain editable project data. A local browser draft is useful, but clearing browser storage removes it.